Making a Drone: Part 3
It’s been a long time since my last update on this drone, but I finally “completed” the project. Well, for now. There are some additional things that I want to do later, but I completed a major milestone, which is the first flight. And boy, what a first flight it was. I kind of crashed it, pilot error. Despite practicing a couple of times, I am not used to flying FPV yet, nor am I used to a drone this fast. I started with a simulator from Steam called Liftoff, but I honestly need a little more practice with it. I got this battery and a dongle with an Frsky XM+ in it that I could connect my Taranis QX7 to my computer, and I was then able to use the controller in Liftoff.
The first flight was super cool though, despite my mediocre piloting ability. Turned out, the FPV community is pretty welcoming. I had some people come up to me when they saw me flying, and they gave me some helpful tips. Some of them were stuff I was planning to do after the first flight, like improving the wiring so it did not get damaged in flight, but I was just too excited to wait. Some of their other tips were more helpful though, like recommendations for simulators and the recommendation of a better battery strap. I thought mine was good, but they emphasized that it falling off in flight was not ideal, which, you know, fair point. I only flew the once, as I felt I already had enough data to start, and I was kind of afraid because I did not have as much control as I wanted. One thing that is crazy is how quickly it takes off. I’m not sure if it is a setting, but it feels like it goes from ground to 25 meters almost instantly, even with very litte throttle.
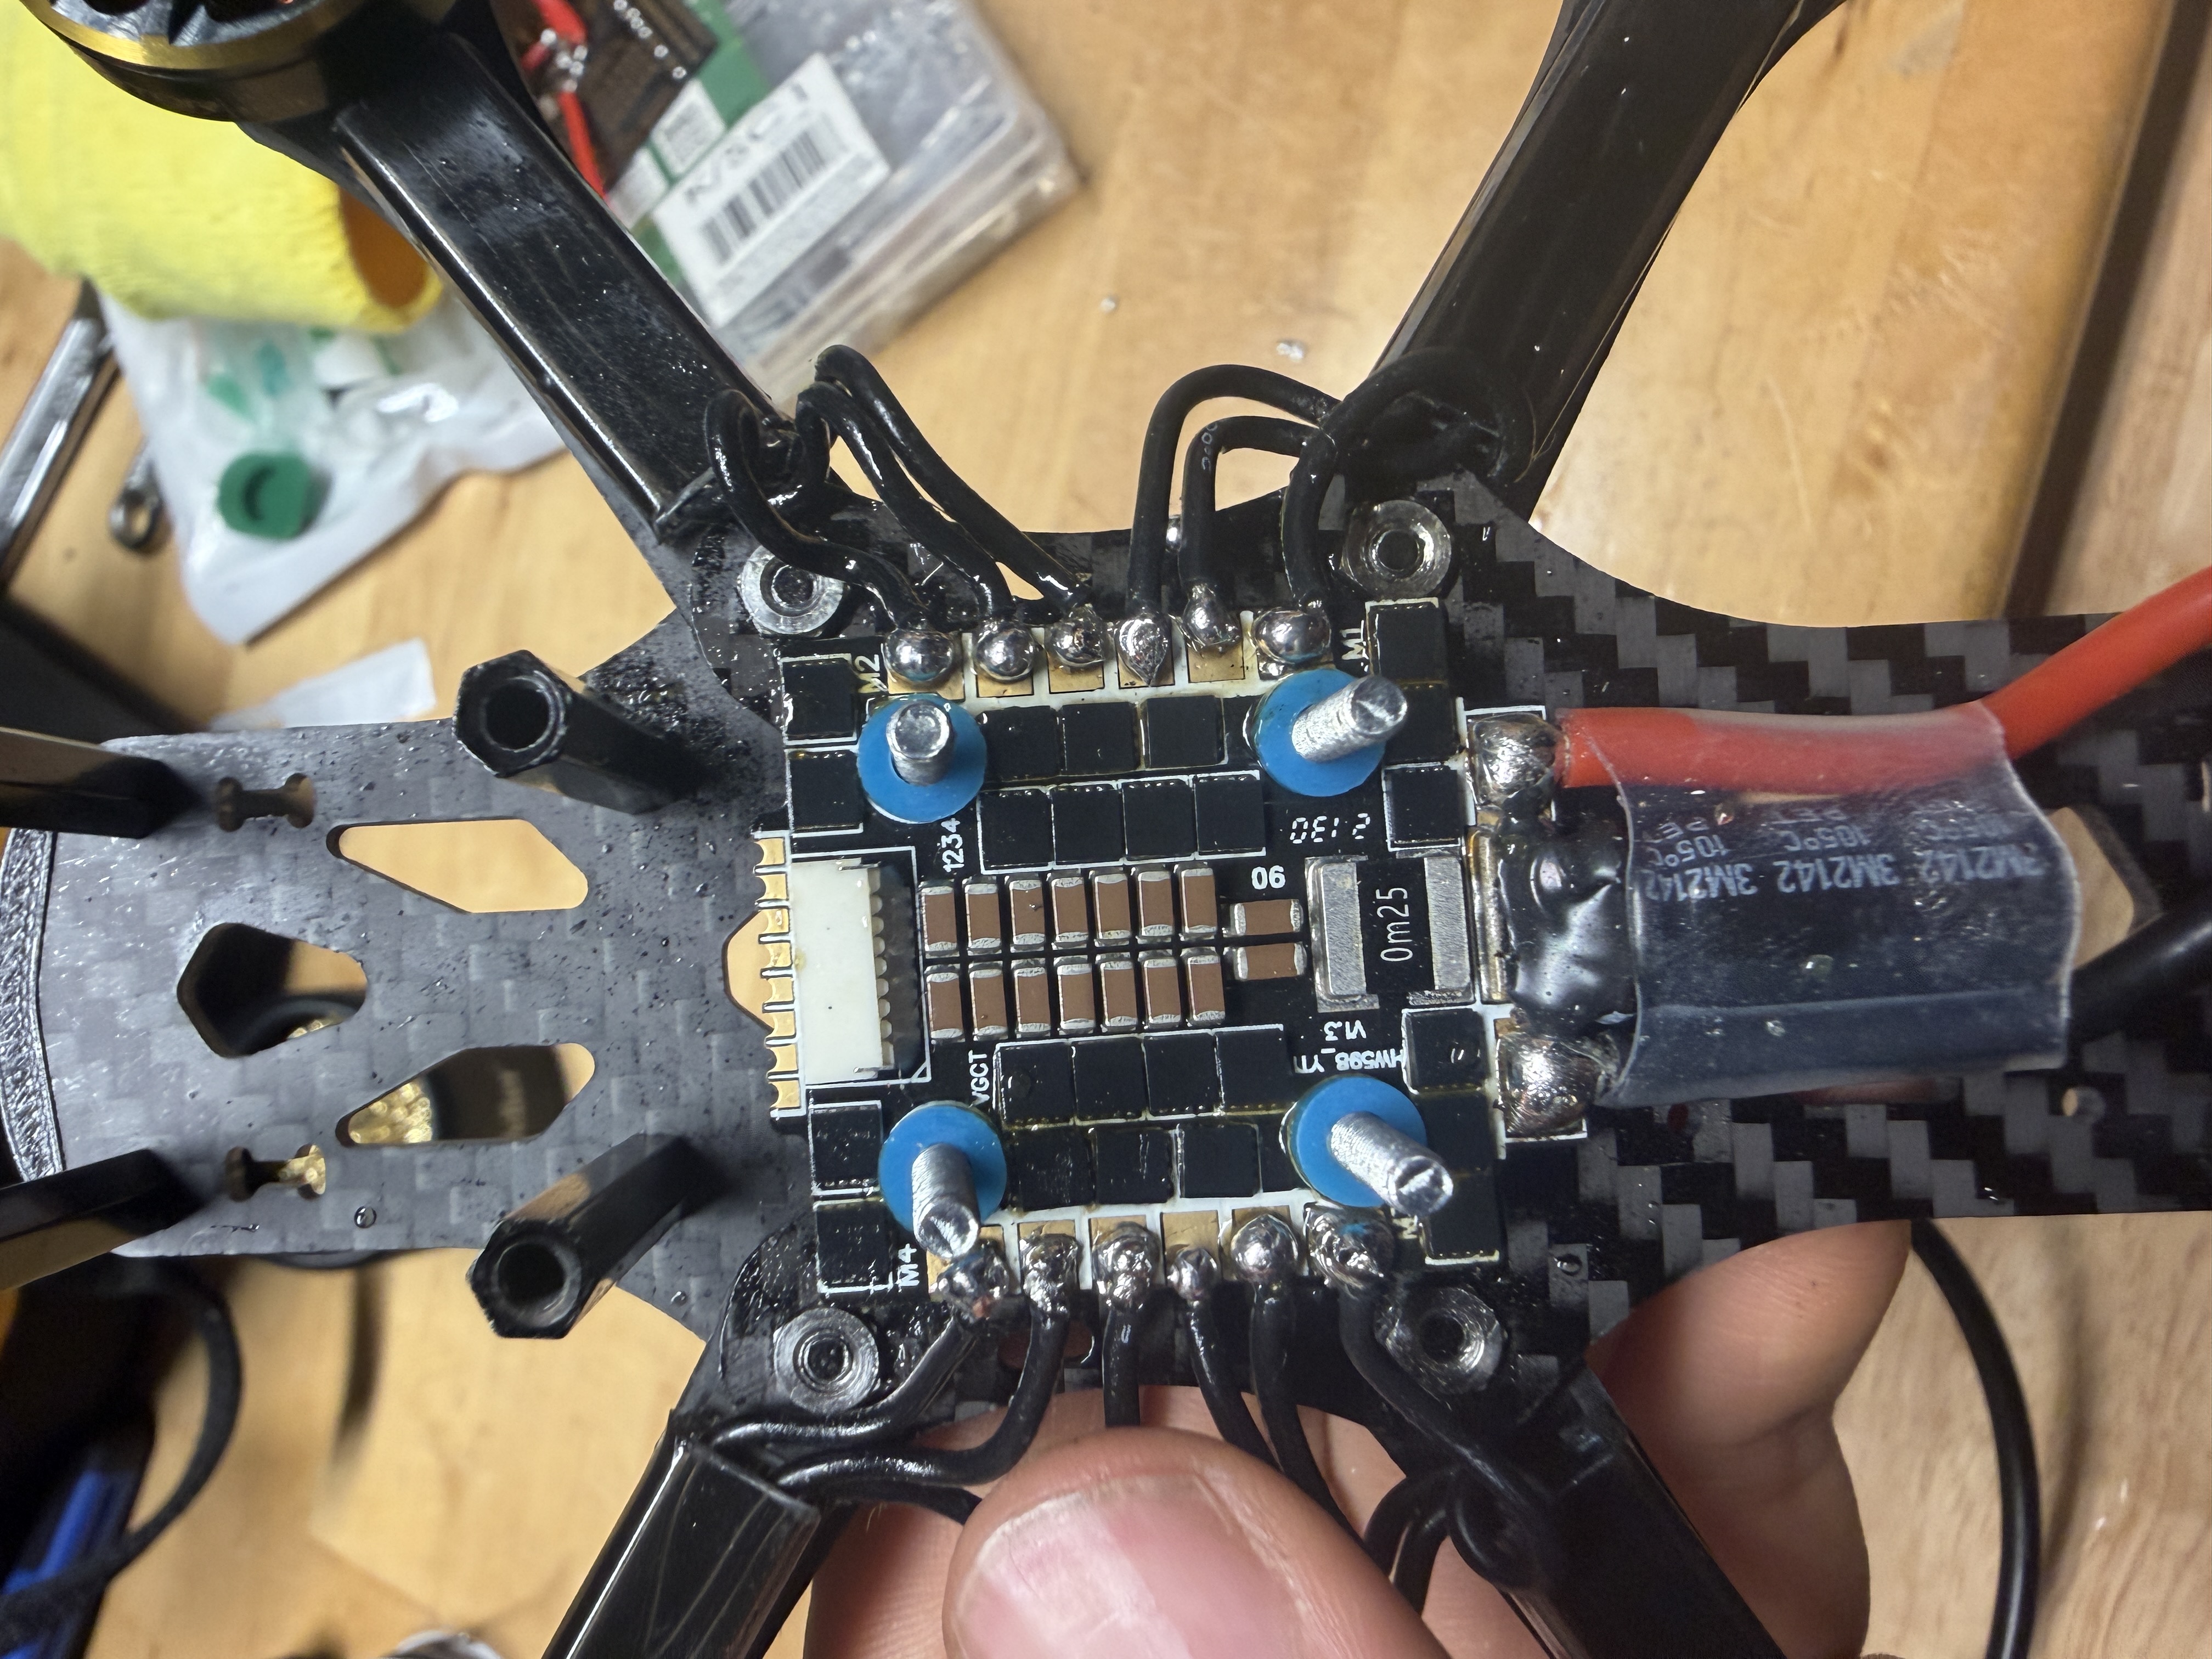
On the design side, I think it is useful to give a brief reminder of where I was on part 2. I had just finished soldering the motors to the 4in1 ESC. Since then, I have been trying to answer some questions on how to adapt the o4. The frame I got was too short, and the capacitor from the 4in1 ESC occupied where I was going to put the o4. I decided to 3D print some little standoffs so that the o4 could sit above the capacitor, and buy some new standoffs so that the frame could sit higher. THere was slightly too little space between the o4 and the main standoffs for the top plate, so the o4 VTx is squeezed in slightly off-kilter to compensate. I also had to 3D print a mount for the antenna, as the o4 does not come with one. I used TPU for this, and it worked out well. I also had to 3D print a new piece of the frame to mount the o4 camera, as the original one was for the original frame size. I used ASA Aero for this, and it worked out well. I also took the advice I mentioned above with the battery strap, and bought a new one.
Here is a picture of me trying to figure out the standoff situation. The only space I had left was right above where that capacitor was.

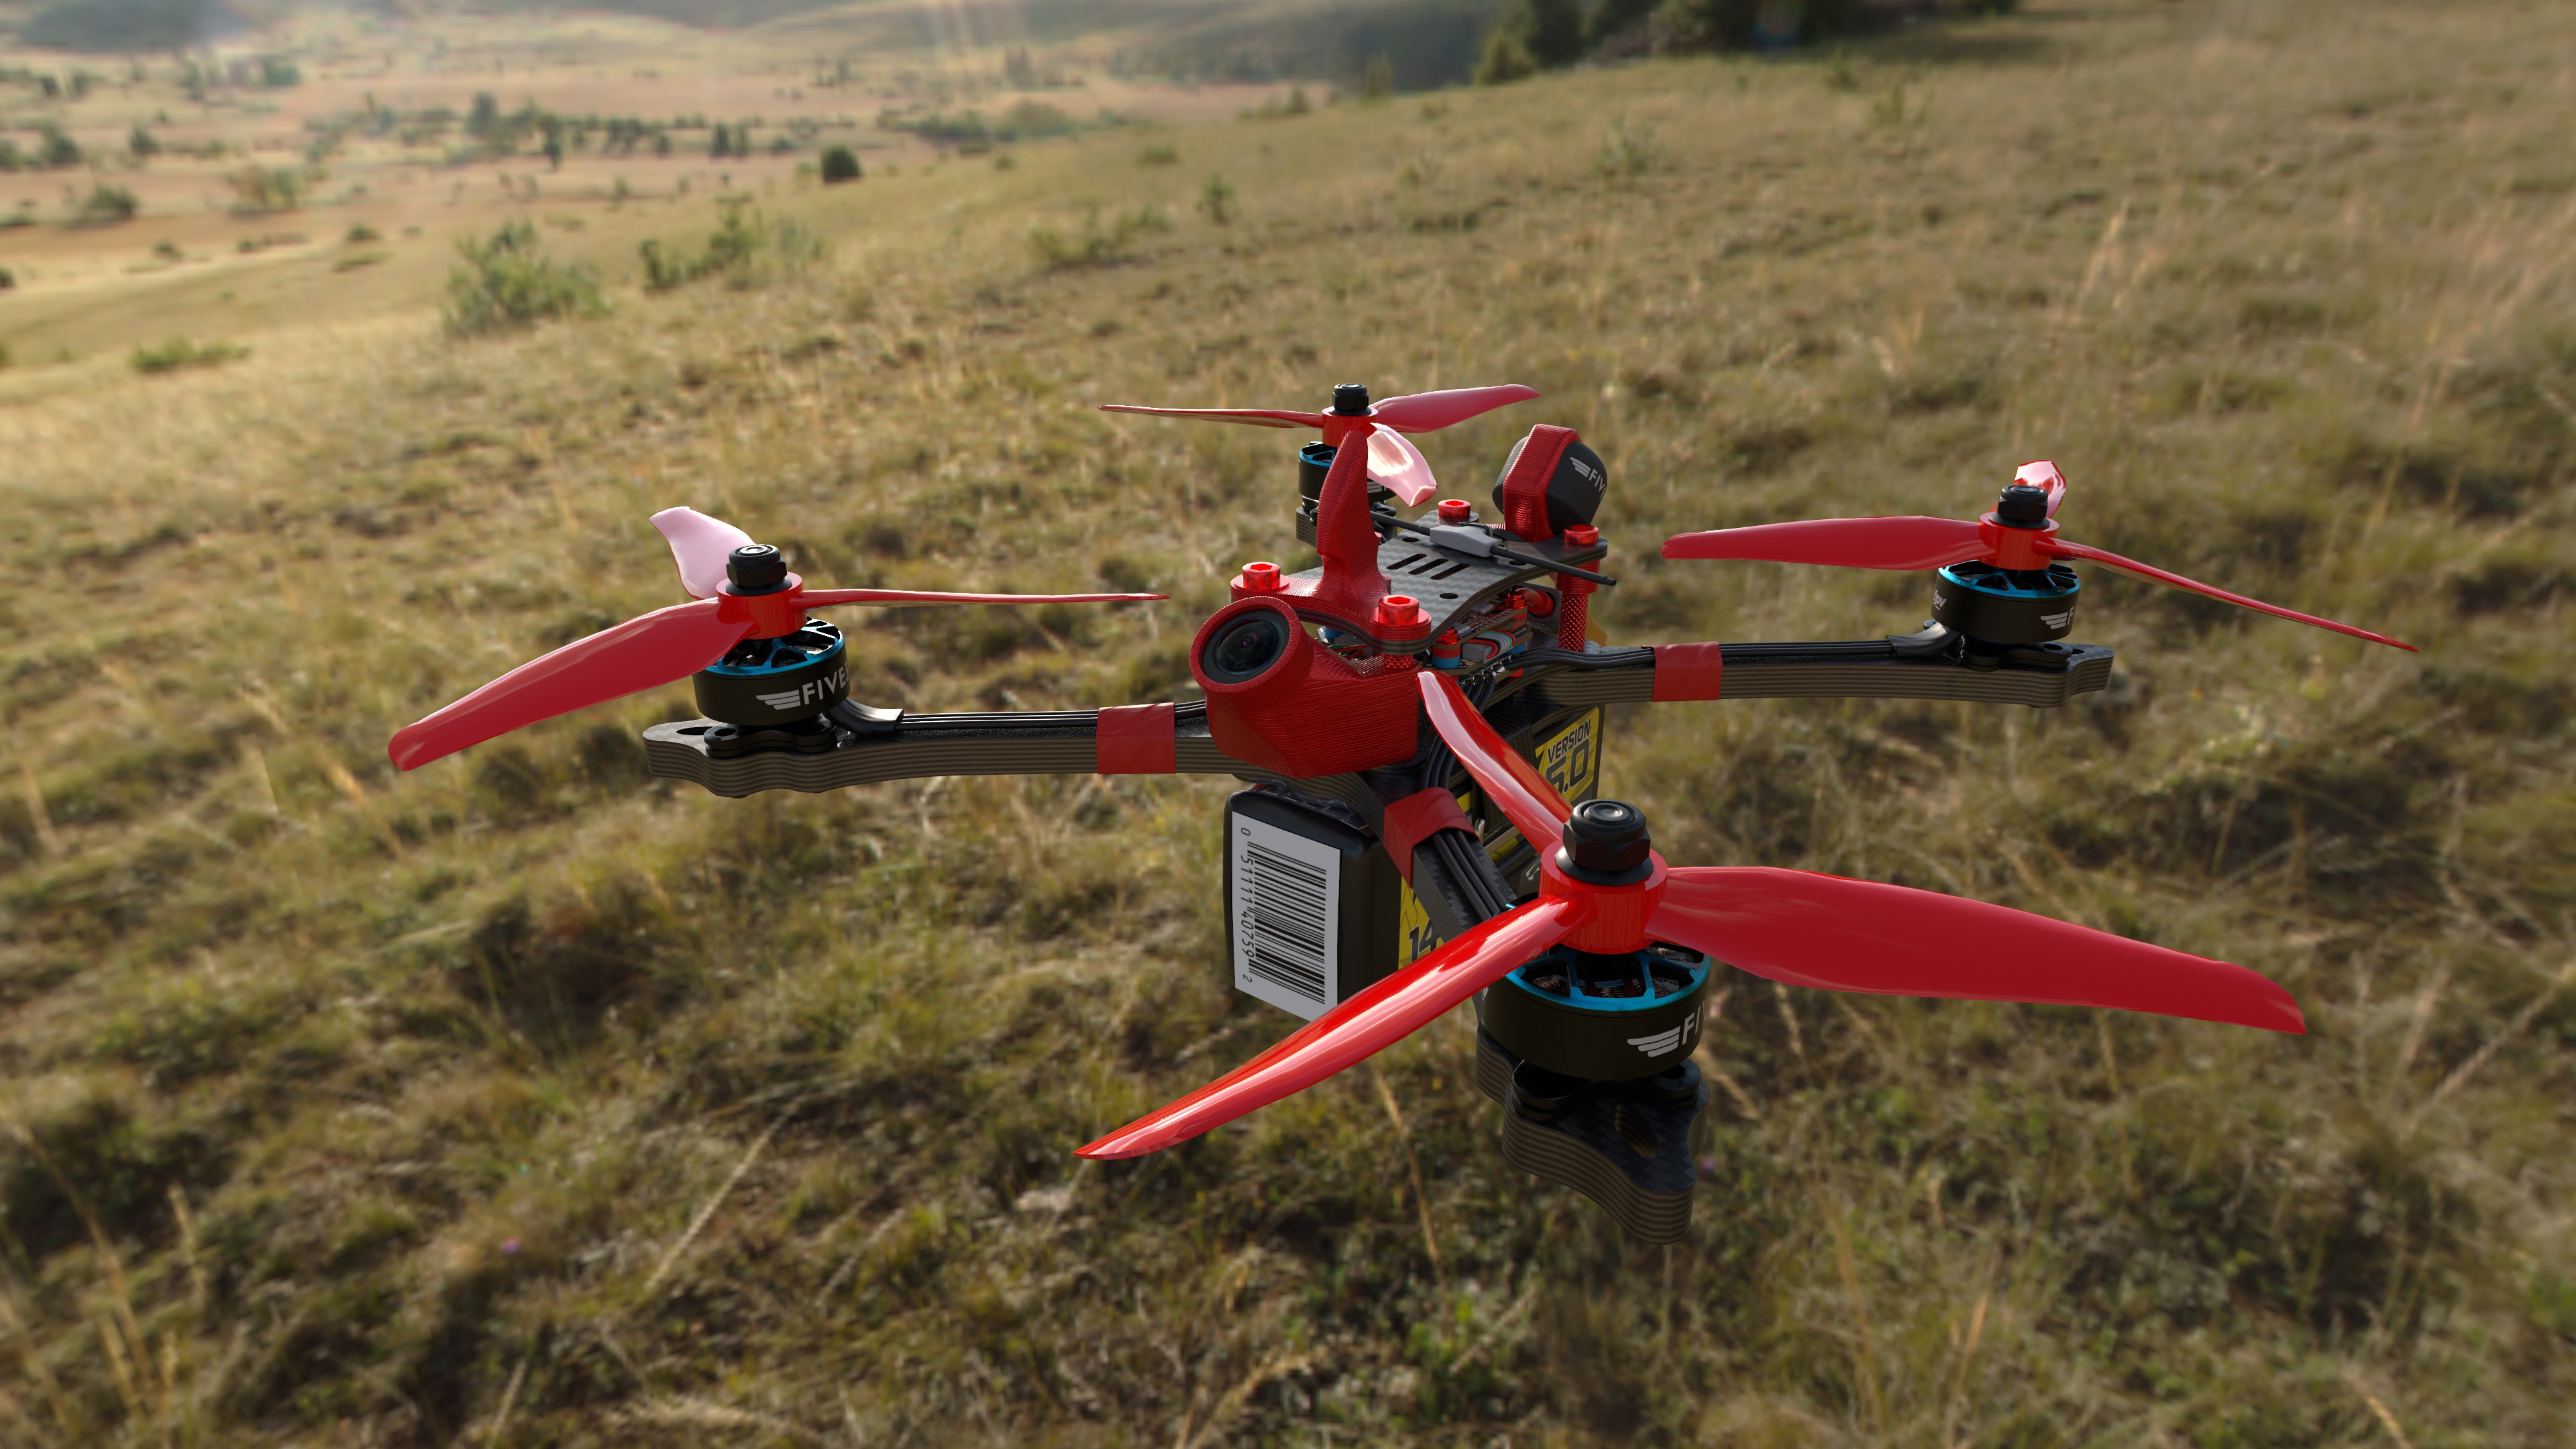
Here is a picture of the drone after the first flight, with no damage. I took it at home, after all the grass was removed, I regret not getting a better in the moment picture of it. Suprisingly, it held up extremely well with no damage. Although I didn’t try to crash, turned out it was a good thing as a durability test.

I am thinking about one last optional change, which is hooking up the Frsky XM+ receiver to the flight controller. Right now, I am using the DJI controller to control the drone, but I want to be able to use the Taranis QX7 as well. The drone is very tight though, and I am not sure the best way to fit it in yet. It will also require more precise soldering from me, on the smaller pads of the flight controller.
All in all, throughout this project, I developed myself in a few areas: - Soldering: I only tried a few basic solders before, and while I still have a long way to go, I learned how to apply flux, use the soldering wick, and got lots of hands on experience getting a good flow. After practice boards and a redo on the ESC, I was able to get a good solder on the motors. I will learn even more as I try to solder the receiver to the flight controller. - FPV: I have never flown FPV before, and I learned a lot about the experience. I learned how to use the DJI goggles, and how to fly in Liftoff. I also learned how to fly in real life, and how to recover from crashes. I also learned how to set up the O4 Air Unit, and how to use it with the DJI goggles. - 3D Printing: I have prior experience with 3D printing, but it was nice to start making my own CAD models again, and experiment with more and different plastics on my P1S. I had to create an antenna mount with TPU, and a new pieces to mount the camera to the frame after raising the height with ASA Aero. - Betaflight: I learned how to use Betaflight, and how to configure the flight controller. I also learned how to use the Betaflight Configurator, and how to flash the firmware on the flight controller. I also learned how to use the Betaflight OSD, and how to configure it.
I think it is also important to share the specs and total cost, for reference. The final BOM for the project (subtotals) was:
| Item | Total Price |
|---|---|
| Readytosky 150mm FPV Racing Drone Frame 3inch Carbon Fiber Quadcopter Frame with 4mm Thickness Arms | $30 |
| DJI o4 Air Unit | $330.49 |
| DJI FPV Remote Controller 3 | $160 |
| DJI Goggles 3 | $542.49 |
| Hobbywing XRotor F7 4in1 ESC | $119.99 |
| T-motor F2203.5 KV3550 3-4S Brushless Outrunner Motor for FPV Freestyle Version Quadrotor (4x) | $79.60 |
| 16Pcs Gemfan 3028 3inch Propeller 3-Blade PC Props 5mm Hole for 1106-1306 Motor FPV Racing Drone Multicolor Quadcopter | $13.99 |
| Tattu R-Line 850mAh 14.8V 95C 4S LiPo Battery Pack with XT60 Plug for Multirotor FPV from Size 100 to 180 | $19.99 |
| New Standoffs / Nuts | $38.5 |
| 2x 128GB MicroSD Card (Goggles and Unit) | $90 |
| Battery Straps | $9.99 |
| Balance Charger | $56.99 |
| Total | $1,492.03 |
I also got some other misc things useful for the project, like a smoke stopper, soldering wick, flux, and more. I think it is important to note that some of these items, like the balance charger, DJI controller and googles, standoffs, nuts, propellers, battery, and the MicroSD card for the Goggles, are all either not part of the actual drone, easily swappable, or have some project left over for additional projects. The total cost of items that I predict to be used in this drone and this drone alone is $605.08. The most expensive stuff was by far the FPV equipment, and I expect it to become even worse with the restrictions on DJI. Even though they are the best in industry, I might look to Caddyx in the future for a build, since it might be a bit easier on the wallet. For now, I am going to get better with this drone and make any necessary tweaks. After taking a long hiatus on this project from 2023, it felt good to finally see it through. I will continue updating this and my homelab, so watch this space. More to come!

Leave a comment