Making a Drone: Part 1
A few years ago, I had the idea to build a drone. At the time, I got a bit busy with school and put the project on hold. Now, I started a job at a company involved in the drone industry, and I thought it was a good time to revive the project, especially since I already have some of the required hardware. This post will be the first in a series documenting the process of building a drone from scratch, including the design, assembly, and testing phases. I hope to share my experiences and insights along the way, and maybe even inspire others to take on similar projects.
The first step to this is planning out the overall design. I will begin from a systems engineering perspective. The first thing I want to do is define the purpose of this drone. I kind of rushed into it last time, and floundered around because I skipped this step. I just said “I am creating a drone” and that is it. While I am mostly undertaking this project for the love of the game, I do want it to serve a purpose and to have a somewhat coherent design. I saw several ideas for what I could make, most involving photography. By far the most popular, and in my opinion the coolest, is to create a micro FPV drone. Knowing this, I can create a list of criteria the drone must meet, as well as some self-imposed constraints.
Criteria
- Must weigh less than 500 grams
- Must have a flight time of at least 15 minutes
- Must have FPV capabilities
Constraints
- Must utilize the flight controller, ESCs, and motors I already have
- Must complete the project by May 1, 2026 (don’t want a repeat of last time where I let the project get stale)
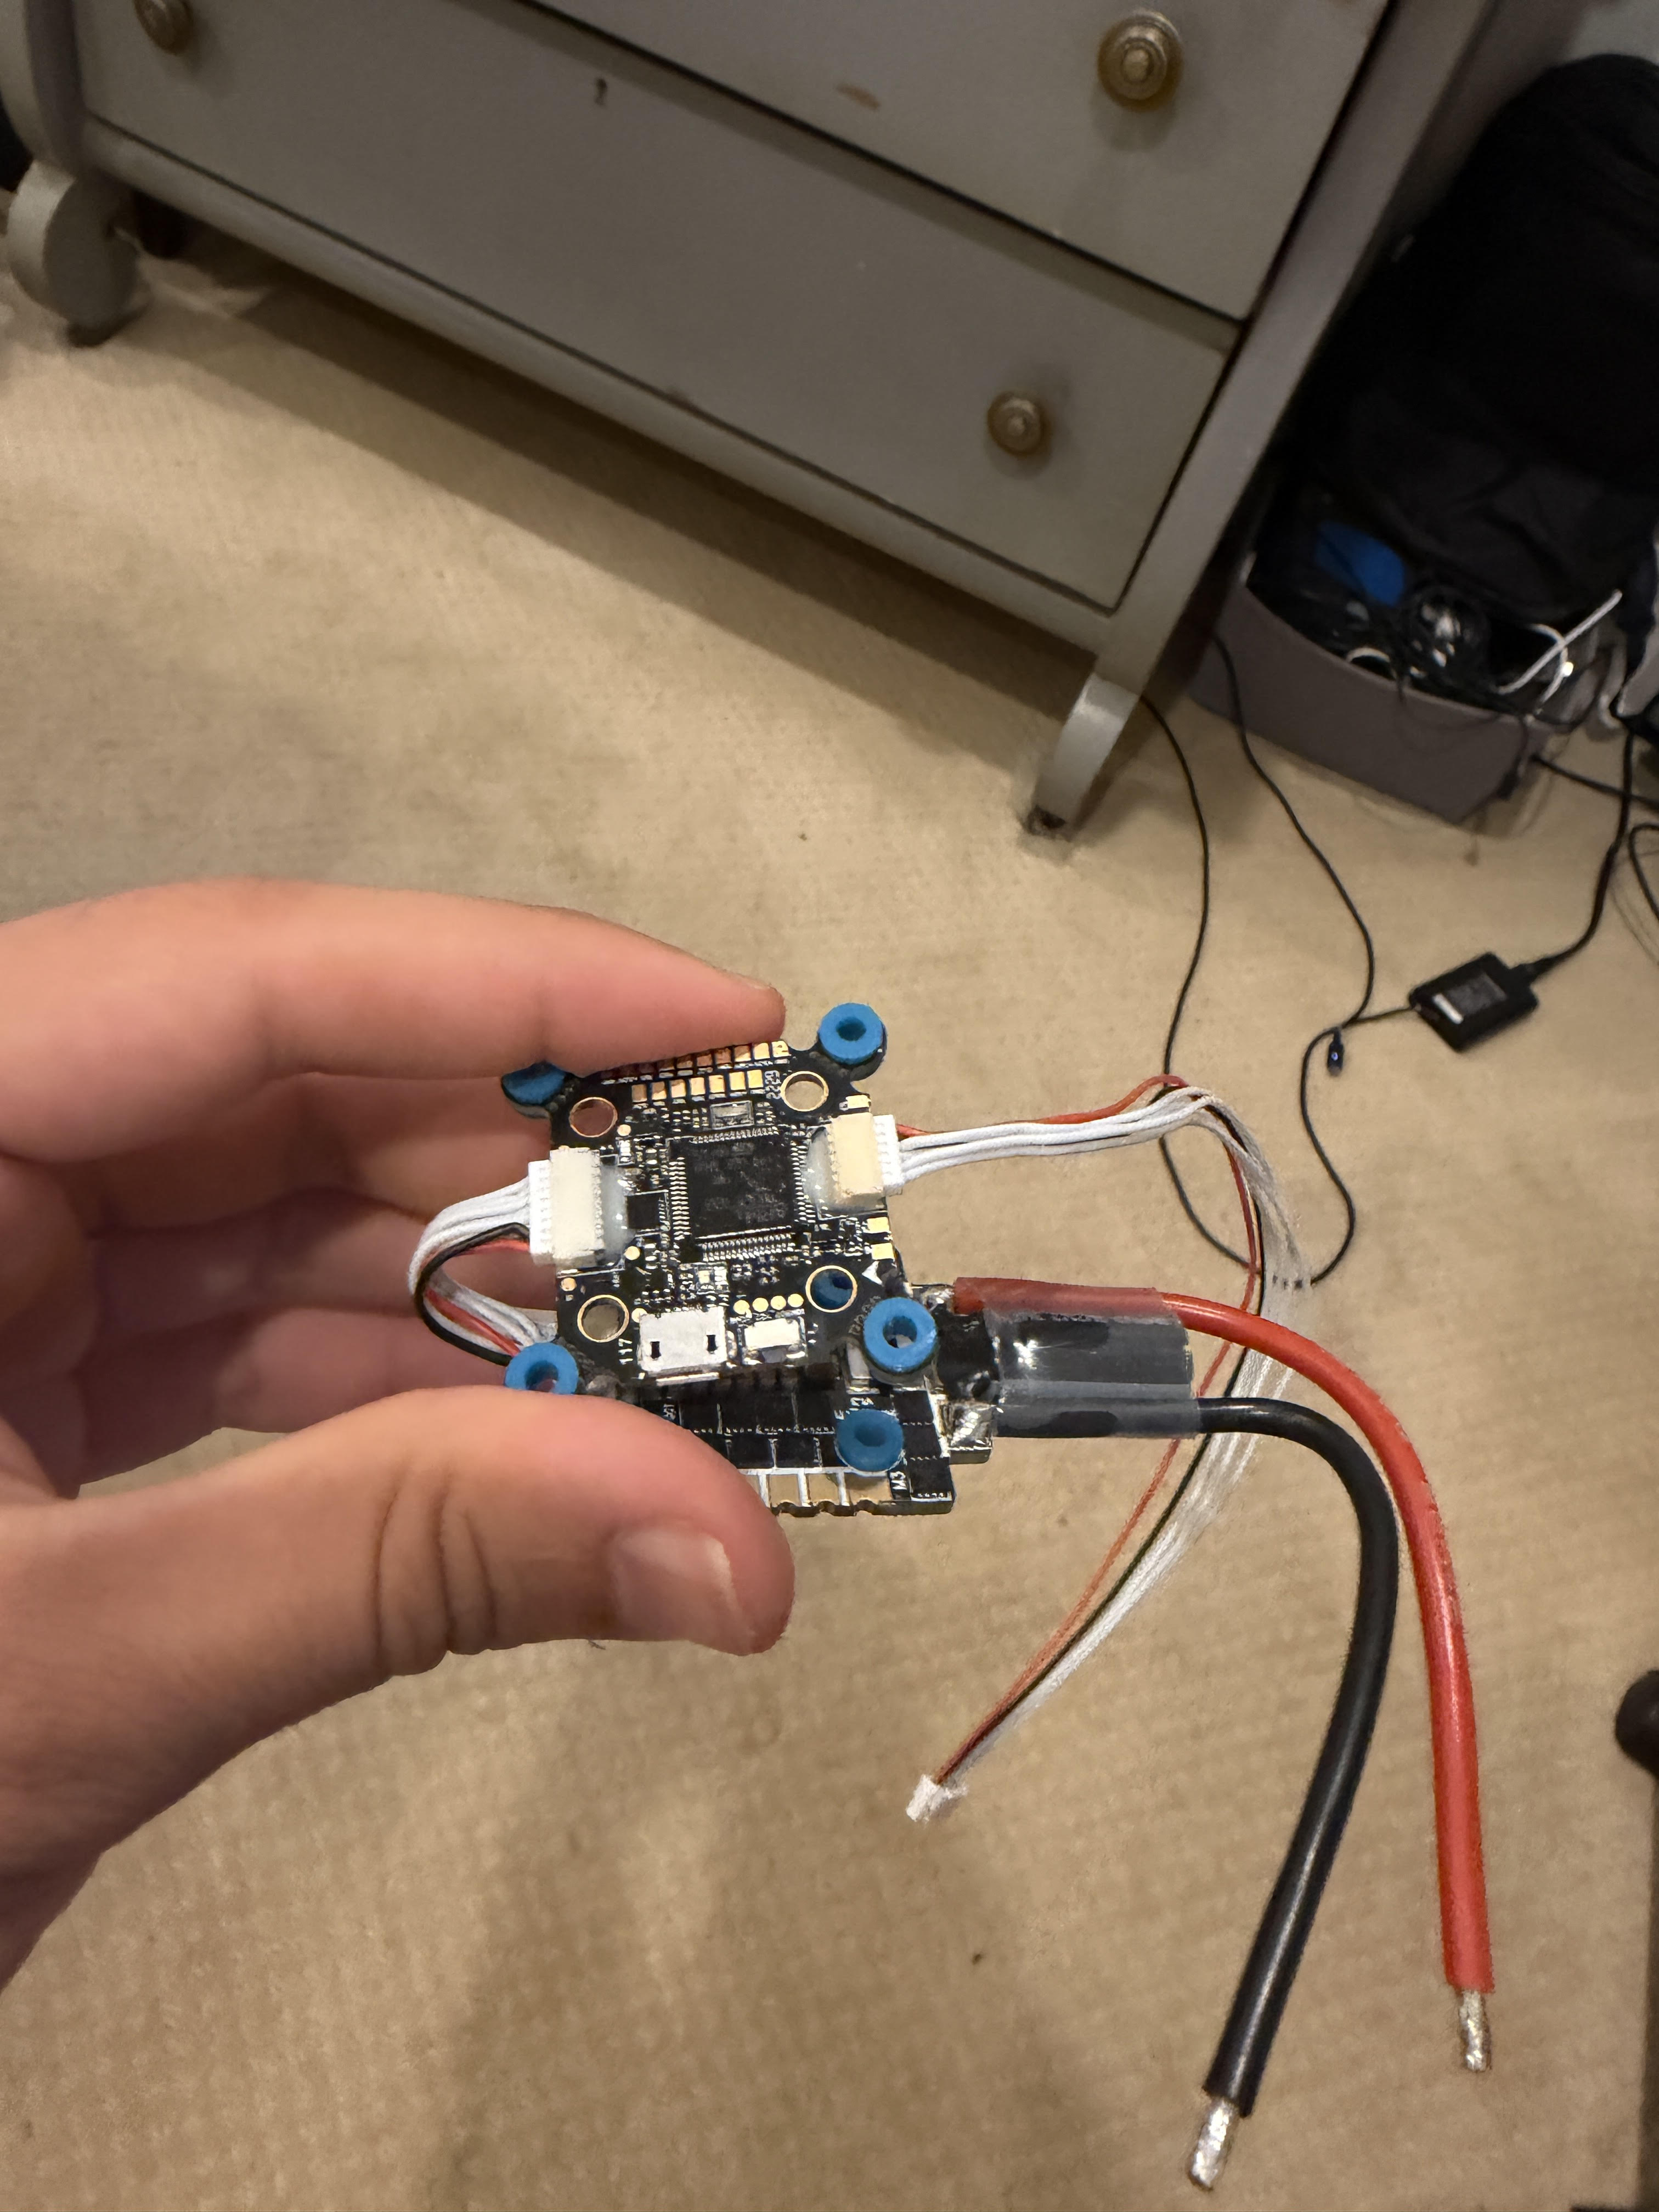
I may make adjustments to these as I conduct further resarch, and if I do, I will post any amendments in the next update. This way, I can document the ever evolving process of the design. The first item I want to look at is the flight controller. A few years ago, I purchased the HobbyWing XRotor 40A 4-in-1 F7 flight controller. Since I already have it on hand, my decision is easy. getfpv mentions there is a “newer version available.” Shame, this is what happens when you sit on a project. Reviewing the specifications, I saw that it mentioned that it supported Betaflight right out of the box. This is great, as Betaflight is a popular open source flight controller software that is widely used in the FPV drone community. It has a large user base and a lot of resources available, which will be helpful for me as I go through the process of setting up and configuring the flight controller. Additionally, Betaflight has a lot of features and customization options, which will allow me to fine-tune the performance of my drone to meet my specific needs and preferences. I checked out the documentation for the flight controller and it looks like we got it made in terms of simplicity. There are two harnesses, one which connects to the 4-in-1 ESC, and one that can connect to a DJI FPV air unit. Harness connections are pictured in the above image. I know that DJI is the top choice on the market, and luckily this particular option is not a new one, but I do want to do my research onother options like Walksnail before committing. That may mean making my life more complicated with the connection to the flight controller if I go that route, but we’ll see.
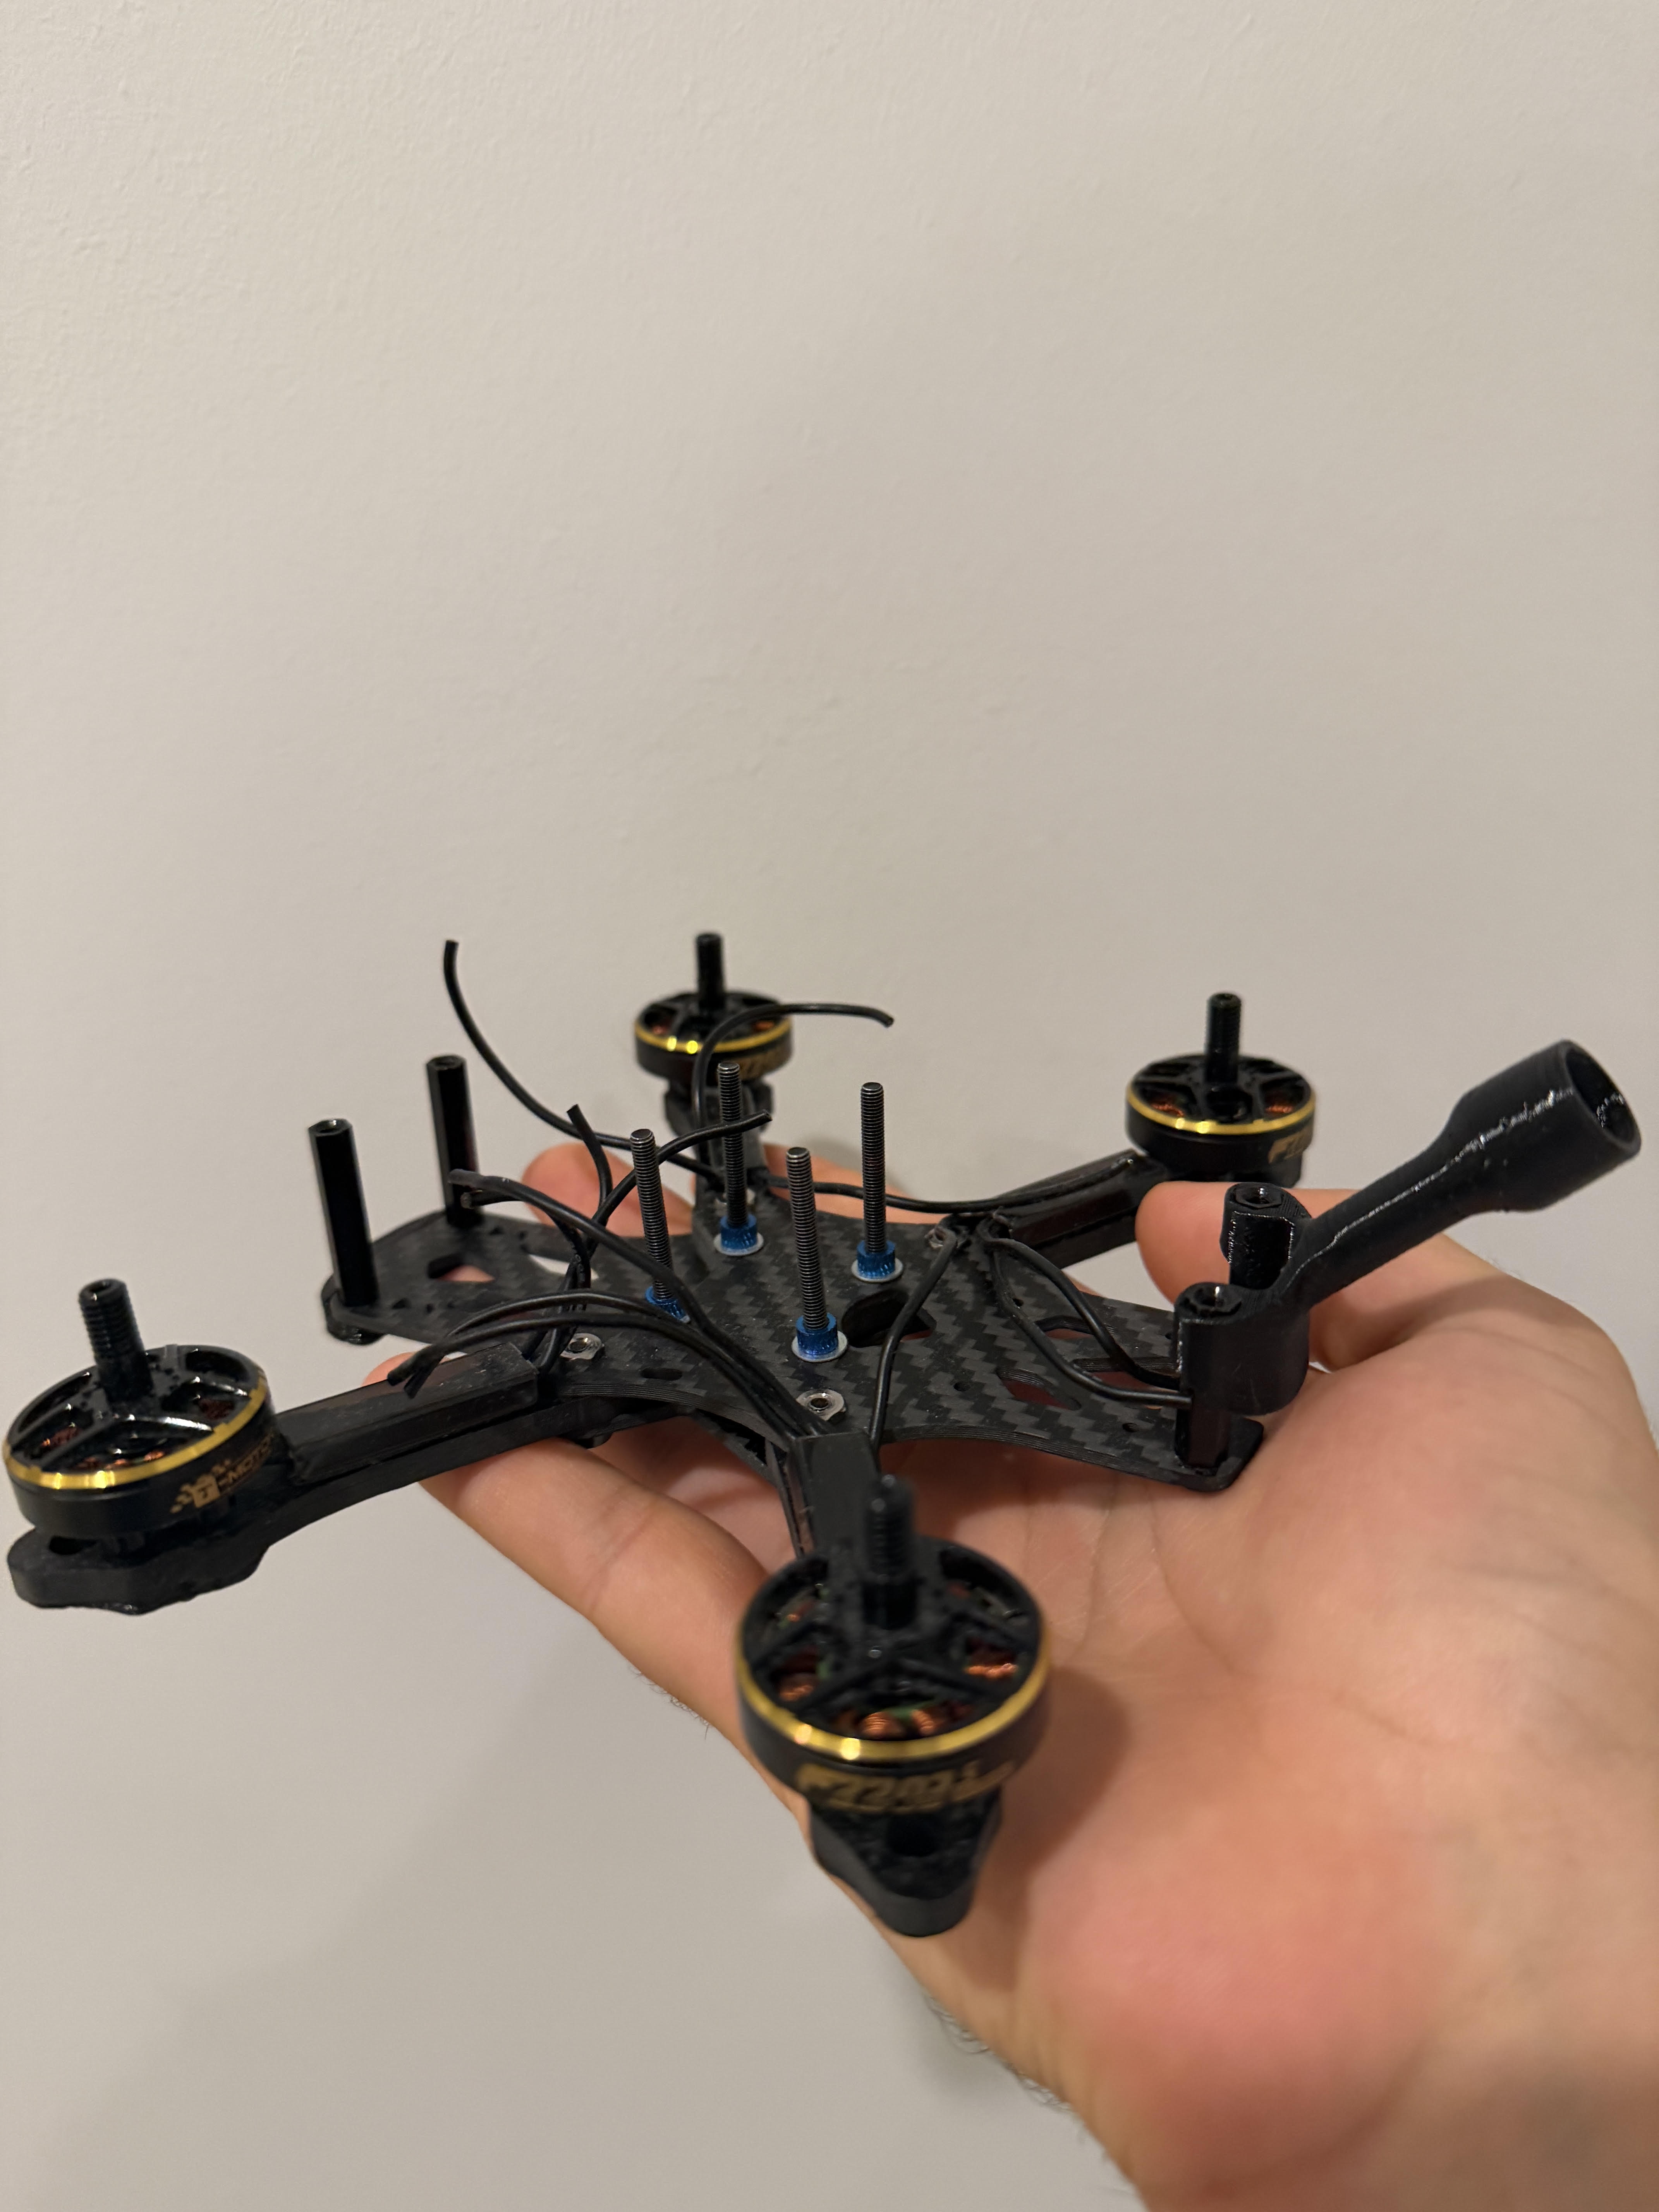
For motors, I have the TMotor 2203.5 3550 KV motors, which are great for a lower weight build. They work best with 3-4” propellers, which I think are a real sweet spot. I am aiming for 3” props, which are on the upper end of what would be considered a micro freestyle drone. There is also the question of the frame. For a bit, I was considering 3D printing a custom frame with the new ASA Aero material I got from Bambu Labs. However, after checking out the frame I already have from ReadyToSky, I think I will stick with that. It will save a TON of designing and measuring on my part. I’m sure I will be able to use the material in a future project. The drone and the frame are pictured below.
I have been using Oscar Liang as a guide for this, as per usual. Today was a successful day taking inventory, defining my project, and doing some research. Next steps are:
- Create a GANTT chart to get an idea of the timeline for the project and to make sure I can meet my self-imposed deadline
- Research FPV systems
- Refresh myself on motor sizing and propeller sizing to confirm my intuition of 3” props
- Identify proper battery sizing (3S vs 4S, other specs)
- TX/RX system research and selection
- Create wiring/system diagram to confirm how everything will work together
- Get an idea of performance expectations
In addition, Oscar Liang recommends that I try my hand at simulations, in order to ensure I’m not flying blind by the time I finish. This is a great idea, and I will look into some of the popular simulators in the FPV community, such as Liftoff and Velocidrone. These simulators can help me get a feel for how the drone will handle and perform, and can also help me practice flying before I take it out for real. Hopefully the next update will be my last research and verification update, and then I can get into the fun part of actually building the drone. Stay tuned!


Leave a comment