Homelab Adventures Part 1 – Hardware
Homelab is the name given to a server (or multiple server setup) that resides locally in your home and where you host several applications and virtualized systems for testing and developing or for home and functional usage.
I first became interested in the idea of setting up a home server after I randomly came across this video by Ardens. In his homelab series, he documents some things you can do on one, and his journey in setting it up. He warns that it can be quite addicting, which I definitely found to be the case. I spent nearly a month getting things running EXACTLY according to my specifications, and in this series of posts, I aim to share my process from start to finish in case anyone else wants to accomplish something similar.
Why should you create a homelab? Well, hypothetical reader, that is a good question! First, it is a great learning experience to get you familiar with lots of technical concepts. At least, it did for me. There are lots of more tangible benefits though, too. On the internet, there is a very strong FOSS (free, open-source software) community that has helpfully created a lot of quality of life improving, privacy respecting, nifty pieces of software that you can run on your machine. I added some, and now I can do things like access all of my bookmarks, control my home network traffic, and manage my 3D printer filaments all at domains that I own! In addition, I created a Samba network share that allows me to transfer files between computers quickly and easily. Below, I’ve listed some services that I like, and their function in a nutshell.
- Portainer: manage your docker containers easily
- Linkwarden: stores important links, has an extension with Chrome
- Stirling PDF: lots of PDF tools, available for free only through self-hosting
- Pihole / AdGuard Home / Technitium: block ads / “bad” websites through domain name, create internal DNS records
- Dash.: system information on your homelab, including CPU usage, memory, and up/down speed
- AdventureLog: Keep track of where you’ve been and your adventures, provides integrations for things like Strava
- Spoolman: Database for you 3D printing filament
- Authelia: SSO solution for all your apps
- LLDAP: Light LDAP implementaion, manage user account data, pairs well with Authelia
- Caddy: Reverse proxy, allows you to access all your services without needing to set a port number
- Immich: Your personal photo library (I don’t personally run this, just because I have iCloud, but I am honestly debating it)
- Homarr: Unified homepage for all your services
These are just SOME of the cool things you can do with a homelab. If nothing else, I would advice getting a Raspberry Pi and running Pihole on it, the DNS blocking is immensely helpful. In addition to ads, you can give it a blocklist for things like malware and pornography, and it will block any DNS request matching the list, great for the parents who have little Internet surfers at home. It is important to note that YouTube ads come from the same DNS origin as the video, so it is impossible to remove ads this way. If this is your goal, a client-side ad blocker is still required.
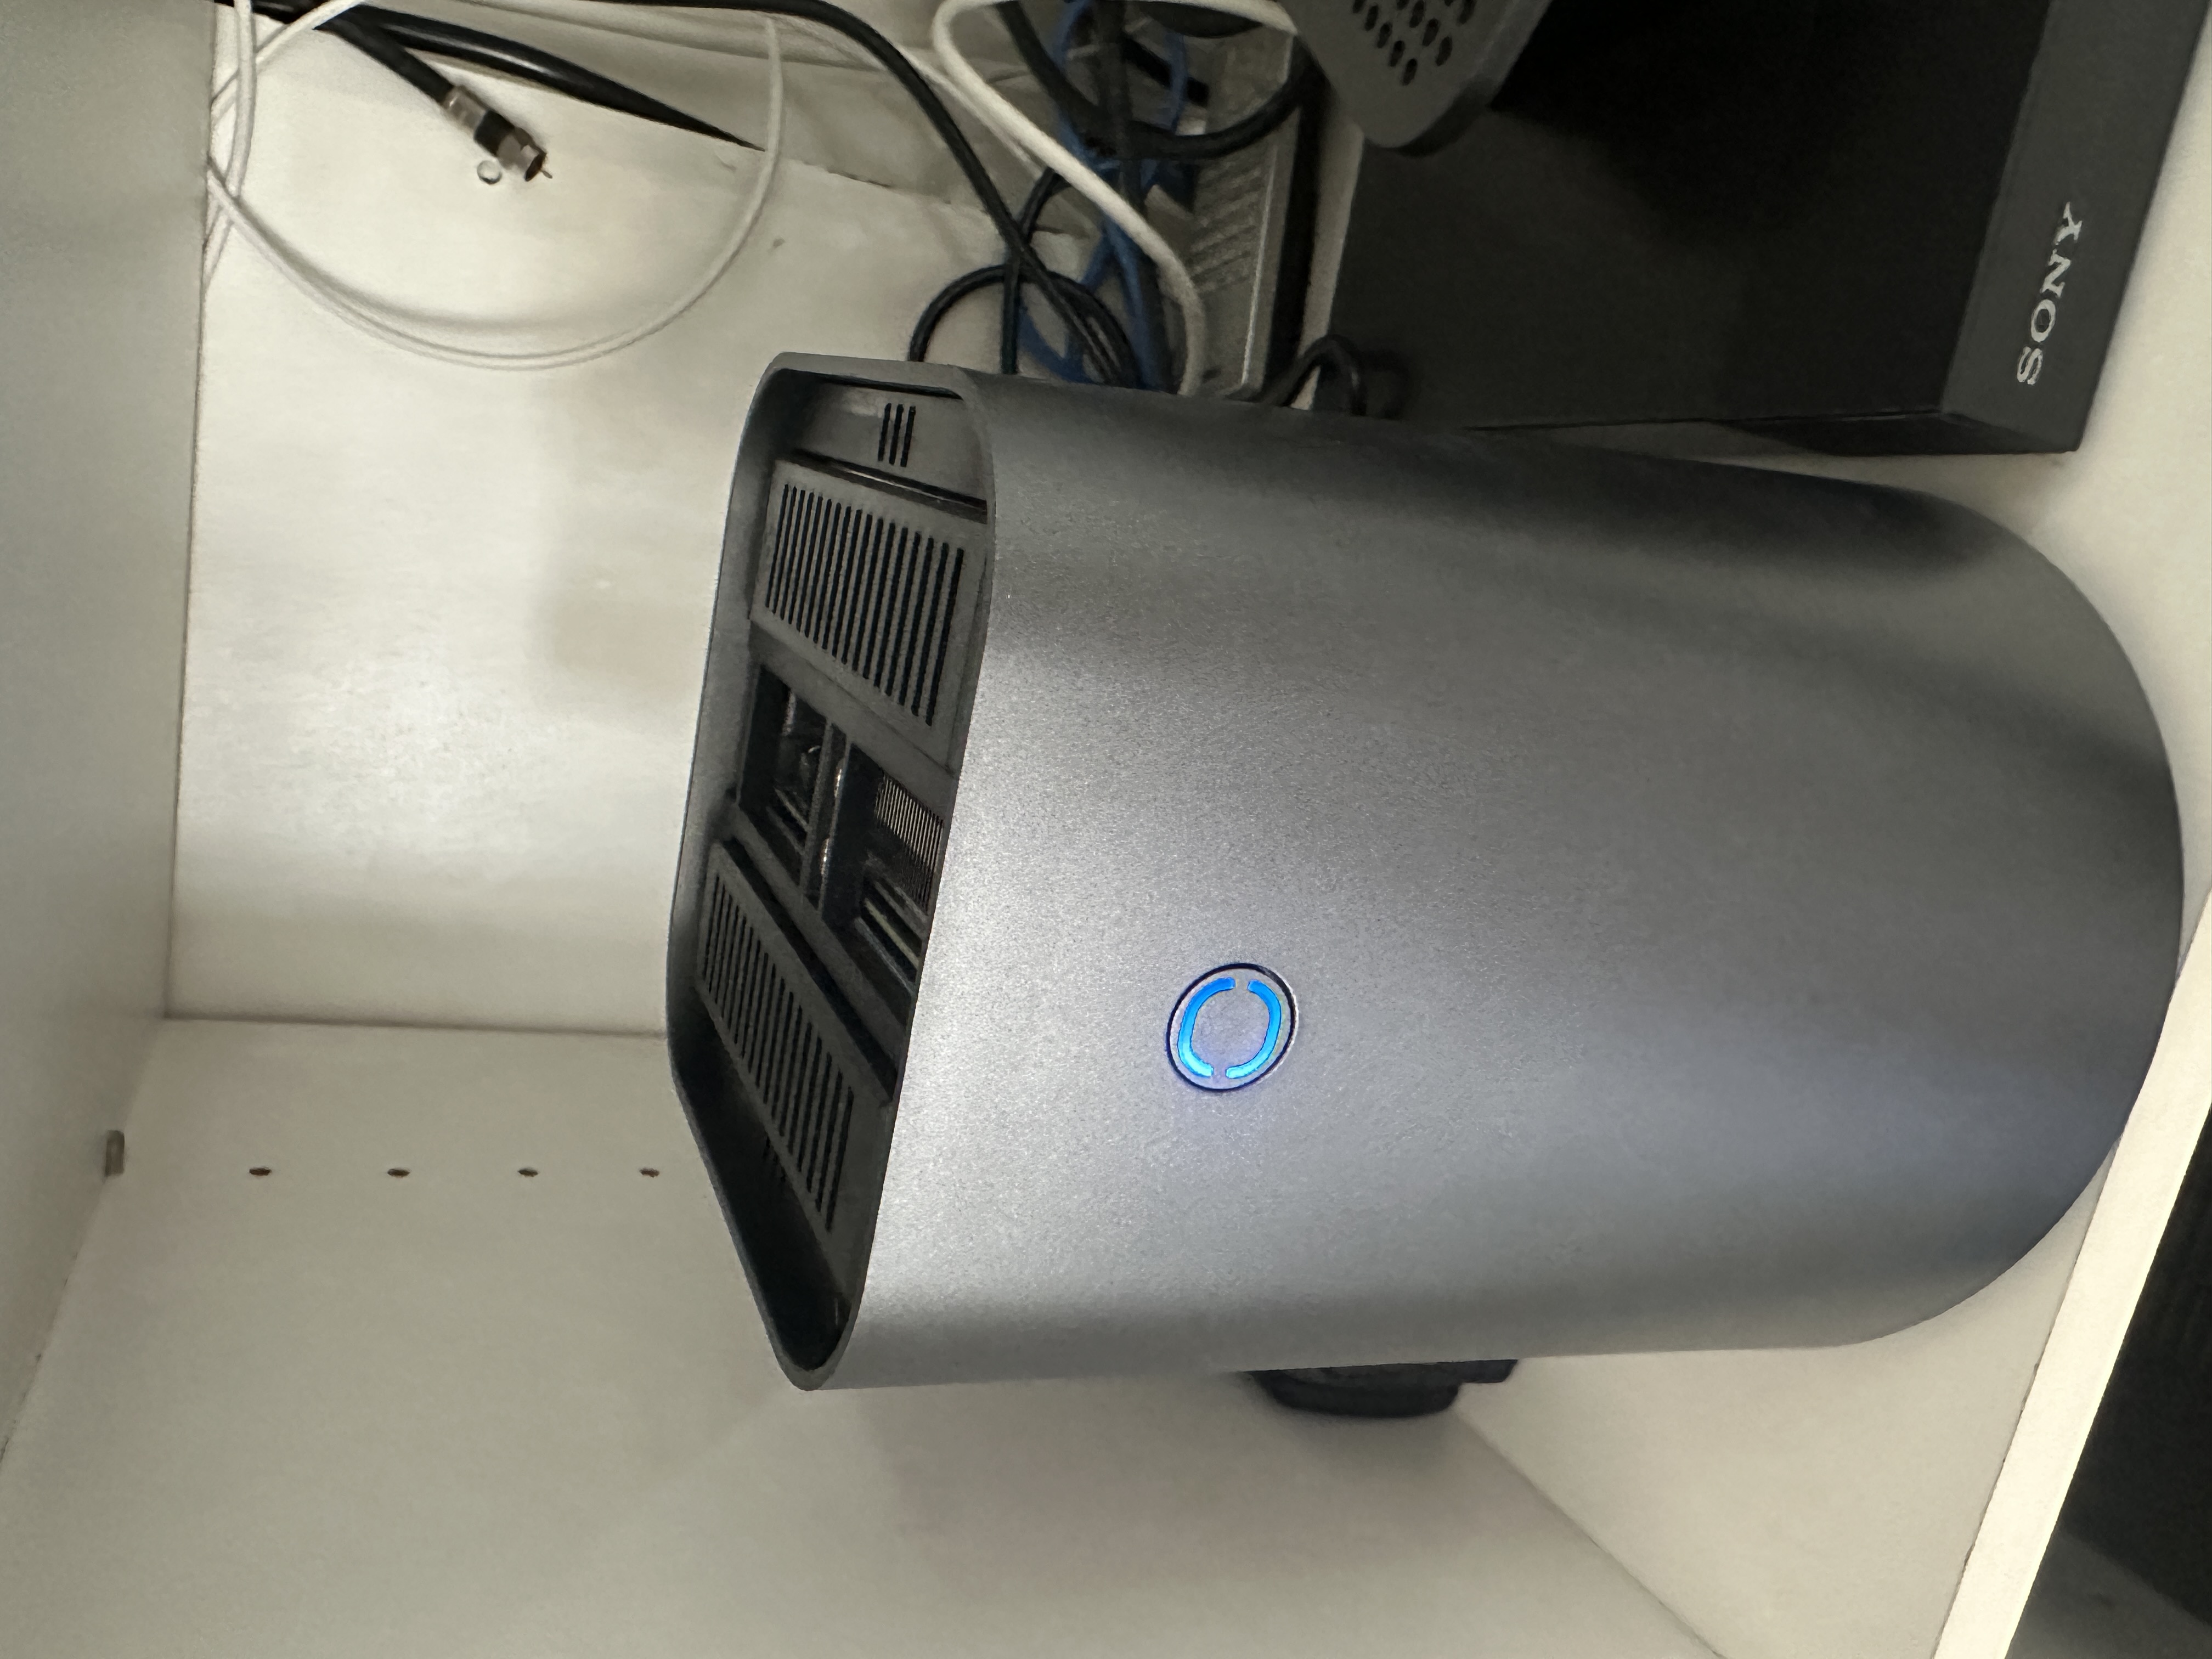
Anyway, now that you know some fun things you can do with the homelab, time for me to get back to how I tackled the project. The first order of business was choosing whether I wanted to go custom or get something prebuilt. At first, I was tempted to go custom. I am a HUGE fan of Fractal Design (my current desktop uses their North case), and the Node 804 case looks great for expanding storage needs, with up to 10 advertised HDD slots. I also considered a Beelink Mini, but the problem with that is that there are no internal drive bays, which means I would have to use a USB directly attached storage (DAS) solution if I wanted to store a significant amount of data on it, something that was not ideal to me. I also considered a NAS solution like Synology or UGREEN, but I did not like the vendor lock-in to a certain OS. In the end, I chose the AOOSTAR R1 Intel N150 Mini PC. It seems like a random solution, but I liked it for a few reasons. Primarily, it is a mini PC, but it has two internal SATA slots, which is the unique combination I was looking for. I wanted efficient read/write speeds on the drive through a SATA connection (over USB), but I also had the plan to put it in the family media cabinet, where something like a Dell Optiplex would not be able to fit. Another reason I liked it is because it looked like my old Alienware desktop that I recently replaced for the aformentioned custom-built desktop in the Fractal North case, so it gave some kind of sentimental value. Finally, it was on the cheaper end and low-spec, something that matched my specifications as a foray into the homelab-sphere. Obviously, your specs may be different. If you value uptime, I would recommend getting multiple containers and coordinating them using ProxMox. If you want to run a local LLM, I would recommend something more powerful. For my purposes, this setup worked. There are two versions of it, I got the 32GB RAM + 1TB SSD (as opposed to 16GB RAM and 512GB SSD).
I chose the kitted-out version of this case, with the processor, motherboard, RAM, SSD, and cooling already taken into account (NOTE: there is no video card, it does use the CPU’s onboard graphics), so the only choice left was what I was going to fill the SATA ports with. I recommend looking at refurbished drives, as you can get a pretty good deal on them. I ended up getting 2x Seagate Exos 20TB hard drives on EBay for $226 each, making the drives more expensive than the mini PC. However, with 20TB, I figured I would be set for storage in a while. For those of you good at math, I know, I know, 2x20TB = 40TB, but I ended up setting up my storage in a RAID 1 configuration, so I only get the space of one of those drives and the other one is mirrored for parity. I will elaborate more on this in a future segment.
This makes the final configuration of my homelab as follows:
- Storage: 1TB SSD + 20TB effective HDD
- RAM: 32GB
- CPU: Intel N150
- GPU: Intel N150 (On-Board Graphics)
- OS: Ubuntu Server 24.04.3 LTS (more on this later!)
The case looks good, with two pain points I noticed being the cooling and the HDD bays, and even these are small nitpicks. The temperature consistently hovers in the 60 degrees Celcius range, so it could be a bit cooler, but this is not CPU melting or anything. The HDD bays have an interesting mounting system where you flex the tray they sit in to fit pins, and I am worried about fatigue causing it to break after too many removals and reinserts of drives, but that may just be a me thing. Overall, I have to give it a 4/5 star rating. A more powerful processer would be nice, but I’ll manage. Here is what the operational setup looks like.
Next up, I talk a bit about working in Linux with the command line, and how I set up software RAID.


Leave a comment